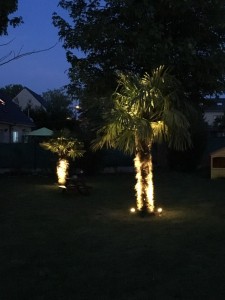
 Nothing is as satisfying as enjoying the garden after a day of hard work. Too bad only that after sunset it becomes to dark to fully enjoy, except for the occasional lightning of the floodlight. Which isn’t really a great mood lighting neither we might say. As our garden is also very dark without any other external light sources, the idea of illuminating the most beautiful palms from below was therefor soon born.
Where to buy?
Which lawn lights?
Now that a cheap alternative was available, the key question came up: what spots should it be? The first choice is between 12V or 220V. We chose the last one because the distance to be covered is still quite considerable (up to 50m) and no additional adapter is needed neither. The disadvantage is that you have to work extra safely with the higher voltage. We also opted for LED because of its low consumption and durability. Next, the search for spotlights that comply with the IP68 standard to be waterproof. For the colour we opted for “warm white” so that the light does not turn out too blue. In terms of wattage, we chose 9watt for a sufficiently strong beam of light. Finally, we opted for spotlights with a spike for easy installation in the ground. In the end we paid about €5.50 per spot! (link to the spots)
What do you need?
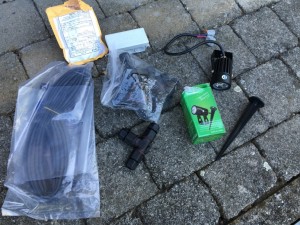
As the spotlights are supplied with only a short cable, connection material is required. All times waterproof of course. All this material can also be found in the local construction market, but for a fraction of the price also through AliExpress.
- Connectors: to connect the spotlights to the power cable (approx. €1, – for 100 pieces)
- Heat shrink tube with glue: o make the connection to the spotlight waterproof (about €3, – for 3 meters 12.7mm)
- Waterproof T-splitter: to make underground branches (€35. – per 5 pieces)
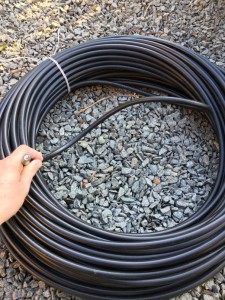 We did buy the cable at the local electricity shop. We chose the extra heavy-duty EXVB 3G cable especially suitable for outdoor use. This cable costs just over €1, -/meter but we do not want to save on safety.
- Here we also bought a twilight switch for automatic on/off switching of the lamps (€34, -), but that is of course optional.
In terms of tools, a crimper and a sturdy pair of pliers are especially indispensable, in addition to a cutter knife, scissors, drill, candle and a good spade.
Duration and level of difficulty
This job is not so difficult with some basic knowledge about connecting electricity so you can do it safely. Depending on the quantity of spotlights and cable/distance to be processed, it can be however very time consuming. The job took more than 1.5 days! This involved more than 80 meters of cable, 10 spotlights and various branches.
Our tip:
Make a clear plan of how you intend to build it all in advance so that you can order the right material immediately and start the job in a structured way!
Step 1
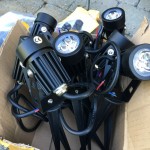
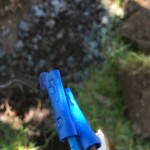
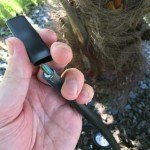
Unpack all spots and mount the spikes. The connectors can also be connected to the spotlights, now when you still work comfortably on the workbench. Carefully remove a little more from the cable sheath so that there is a better contact. Also cut a shrink tubing of about 20cm and slide it over the cable. The spotlights are now ready for installation.
Step 2
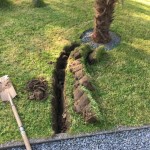
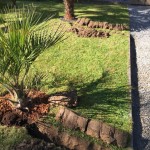
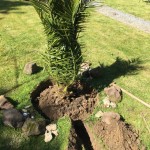
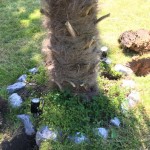
Dig the trenches to the plant to install the cable. This should normally be up to a depth of about 60cm so that it is not accidentally dug or cut. Since it concerns our own garden and we know exactly where every cable lies, we did not place them as deep but still deeper than one spade length. To do this, insert the spade deep into the ground on two sides and lift the grass out. Then dig a little deeper with and put the soil aside.

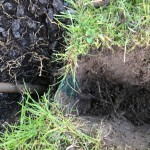
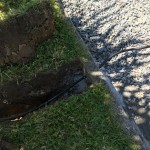
We wanted to dig at the roots as little as possible. With the help of a thick rod we created an access for the cable underneath the plastic grass edge.
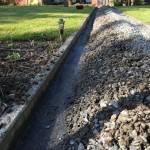
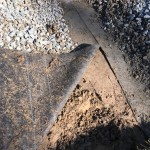
The cable runs further under the gravel path where the cable and branches are also laid under the anti-root cloth. In this way, the gravel cannot crush the cables.
Step 3
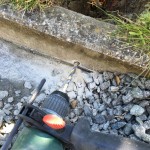
After all the digging, the holes can be drilled into the border stones. A drill with the correct diameter is of course necessary. Here 12mm was needed at least to get the thick cable through.
Step 4
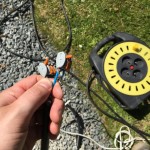
The spotlights can then be put in place and the cable pulled. Start at the most distant point and of course do not forget to pull the cable through the drill holes and under the grass edge before connecting. After connecting the spotlights to the cable with the connectors, we cut the cable slightly longer at the junction level. Then we connected this cable to an extension cable with two convenient Wago clamps to test if the connection is working properly. So we went one step further towards the main connection with a new test on the extension cable each time to immediately detect any wrong connections. This saves a lot of searching work if it turns out not to work afterwards.
Now the cable is in place, the lamps are neatly connected up to the main cable but are still being powered by an extension cable. This makes it easier to remove the power quickly to continue working safely.
Step 5
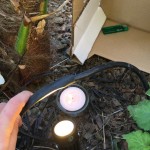
Now that everything is working, the shrink tubes can be shrunk to make the connection waterproof and therefore safe. A large tea light is sufficient for this if you can work without any wind. Slowly pull the heat shrink tubing through the flame so that it shrinks neatly around the cable. Please be careful that the cables do not melt completely!
Step 6
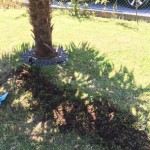
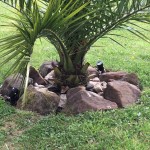
Now the cables around the base of the plant can be covered. Any surplus can be hidden underground so you will have some possibility to extend later if wanted. The soil can be pushed back into the trench and the grass can be put back in place. By jumping firmly on top they will fit right in and make good contact with the rest of the ground.
Step 7
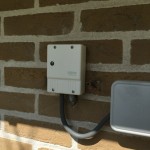
The cable is neatly routed along the facade to an existing power supply. Here was a flootlight that we replaced by the twilight switch. After adjusting the sensitivity, it is exciting to wait until after sunset to admire the result.
© La Palmeraie


