


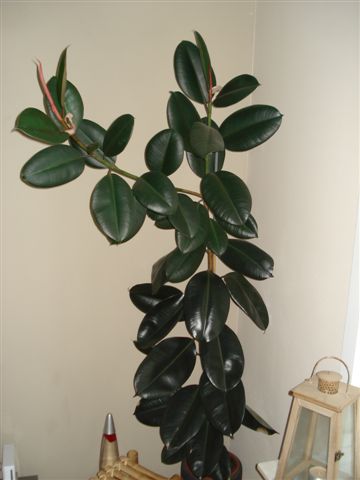
 The Rubber tree or “Ficus elastica” is a popular plant. This climbing plant with large and rubber-like leaves forms an elegant appearance that requires little space. The care is also relatively simple. This plant needs steadiness and regularity. Water it regularly and do not twist or move it. The leaves would also have an air-cleaning capacity, which makes it functional in rooms where people smoke.

The Rubber tree
 Originally, the Ficus comes from Asia (India, Java, Malasia). It grows into a big tree with many aerial roots. The common name (rubber tree) is not correct. The real tree used for commercial rubber production is a different tree, the Hevea brasiliensis. The white juice of the Ficus elastic is also latex-like but is not used for rubber production.
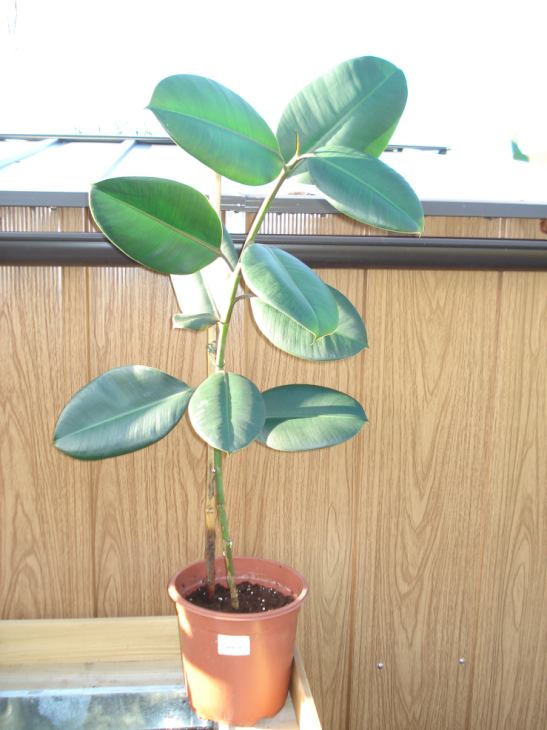
In pot culture it remains smaller, which means that it is generally found here as one undivided stem. It is only in the long run that the plant will form multiple branches. This process can be forced by cutting the top out of the plant.
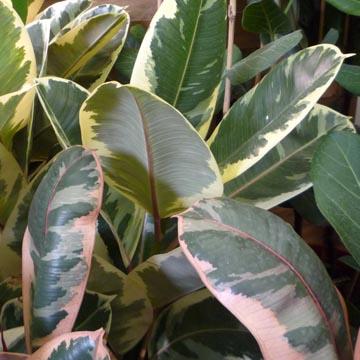
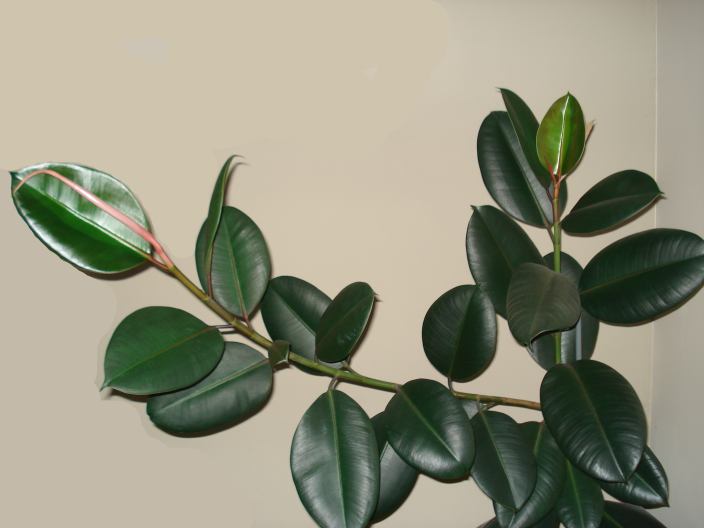
Several varieties of the Rubber tree are available on the market, ranging from a uniform dark green large leaf such as the Ficus elastica ‘Robusta’ to the multi-colored Ficus elastica ‘Tineke’.
Multiplication
Air layering technique
Step 1
Remove some leaves at the base of a branch.
Beware of the white poisonous juice that will seep directly out of the wound.
Step 2

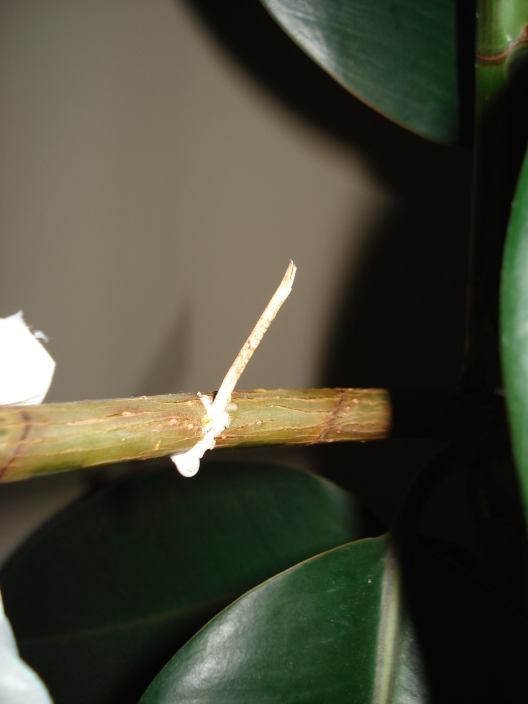
Cut through the stem for only two thirds between two nodes (where the cut leaves were on the stem). Gently bend the cut and insert a match in between so that the two sides of the wound no longer touch each other. Take care not to break down the stem completely. Support the stem if necessary. Please be careful for the juice again!
Step 3
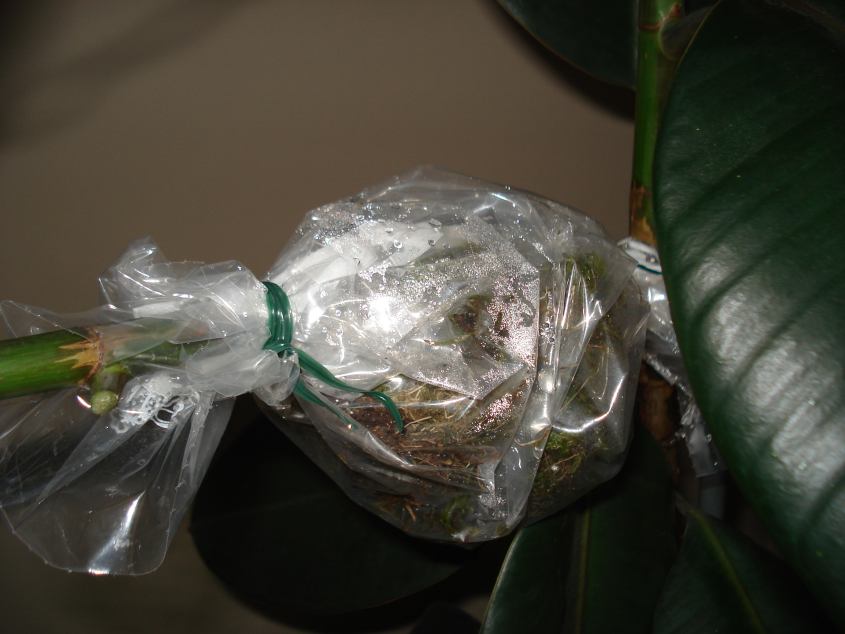
Wrap the wound with moist sphagnum moss and wrap it with plastic. Close the plastic at both ends.
Step 4
Regularly check that the moss is still moist enough and moisten when needed. The root formation can also be controlled in the same time. This process may take some time.This time it took us 14 weeks. When a few roots are formed, the next step can be followed.
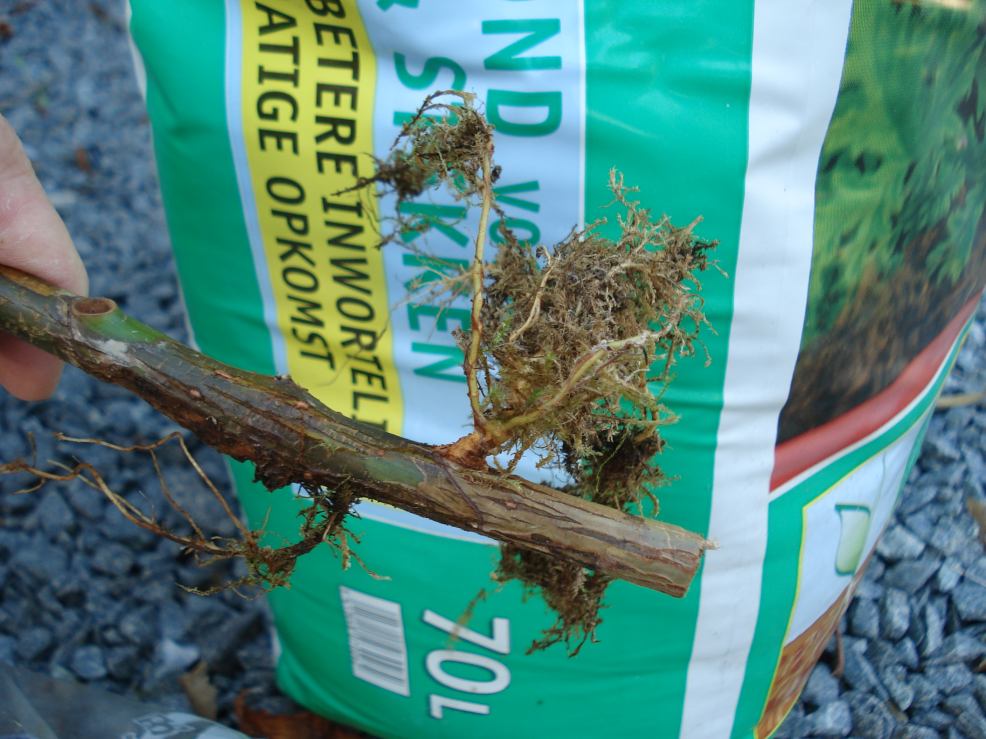
Step 5
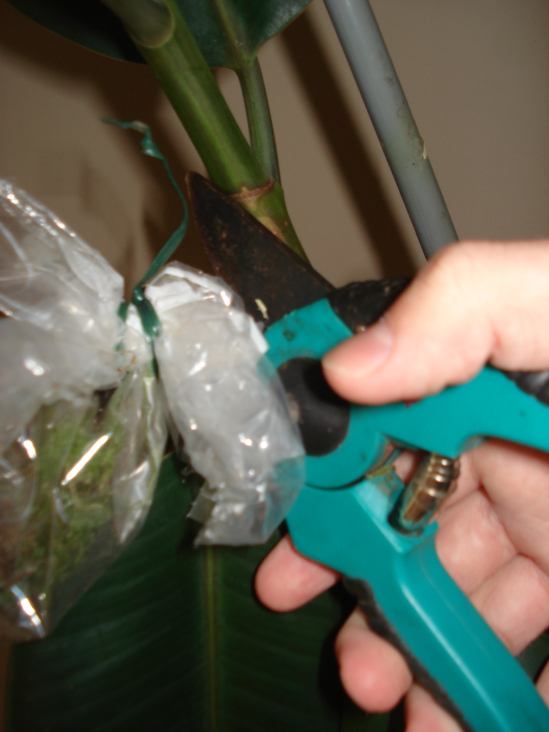
Cut off the stem under the newly formed roots. Pay attention to the poisonous juice.
Step 6
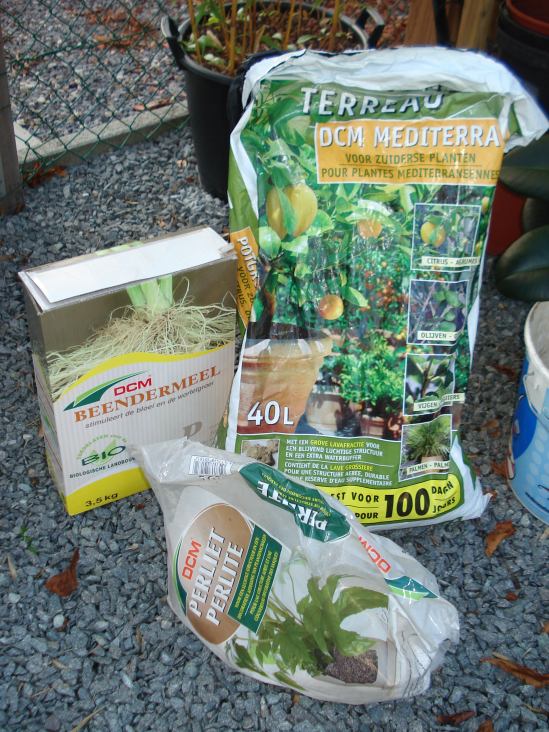
Remove a few leaves on the bottom of the stem and pot the stem in good potting soil. You may also add soil improvement as Perlite and root stimulators.
Step 7
Keep the soil only slightly moist until the plant grows again. Only then you may gradually increase the watering.
© La Palmeraie